Introduction to Custom Component development in Retool
This post is a bit old and outdated.
Rechart has evolved in the meantime.
Please refer to the more recent posts from here
I’ve created several plugins and extensions for different platforms, such as Tableau, Airtable, PowerBI and Supertset and they all rely on the same development experience, where you have to set-up a local development enviroment in order to write code in your typical code editor. Then, you have to publish the package somewhere before importing it to the proper platform.
It makes sense, but it comes with a barrier cost. Making quick experiments is not fast as it should be.
Retool took a different approach, and I like it very much.
You have to write your custom component code into a dedicated textarea, thus, your plugin is immediately available to your app.
The comfort is not good, writing code into a textarea is not fun, but the entry point barriers are the lowest.
Furthermore, this approach doesn’t limit a more professional set-up, if you need to write a serious plugin, such as Rechart, you can do it in your local enviroment/toolchian and just use the bundle URL in the dedicated textarea.
You can learn more on their documentation section, nevertheless, here a minimal, vanilla-javascript, example. The whole experience is ridiculously simple:
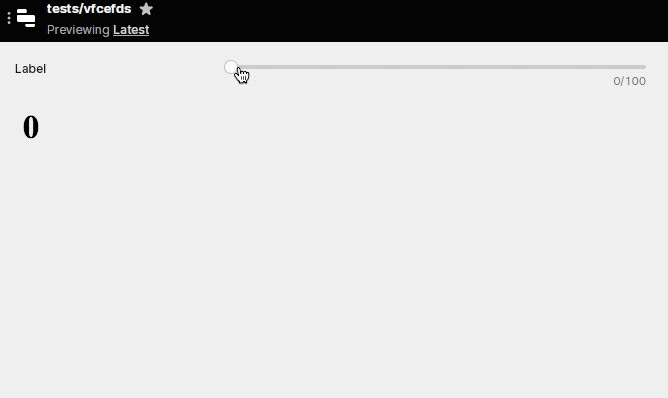
- Drag a Custom component into the App
- Drag a Slider component into the App
- Paste this code into the
IFrame Codetextarea:
<html>
    <script>
      window.Retool.subscribe((model) => {
        document.querySelector("h1").innerHTML = model.value || '';
      })
    </script>
    <h1></h1>
</html>
- Paste this object into the
Modeltextarea:
{
  "value": "{{slider1.value}}"
}
Here the result: