Install Rechart
Here the step by step to install Rechart (beta version) into your Retool organization.
First off, a little adjustment
Rechart is a Custom Component inside a Retool Module. The way Retool handles such combination has some layout quirks. To fix that, we need to add a simple CSS rule in the Advanced Settings of your Retool organization:
div[data-testid$="rechartHost"]{
  height:100%!important;
}
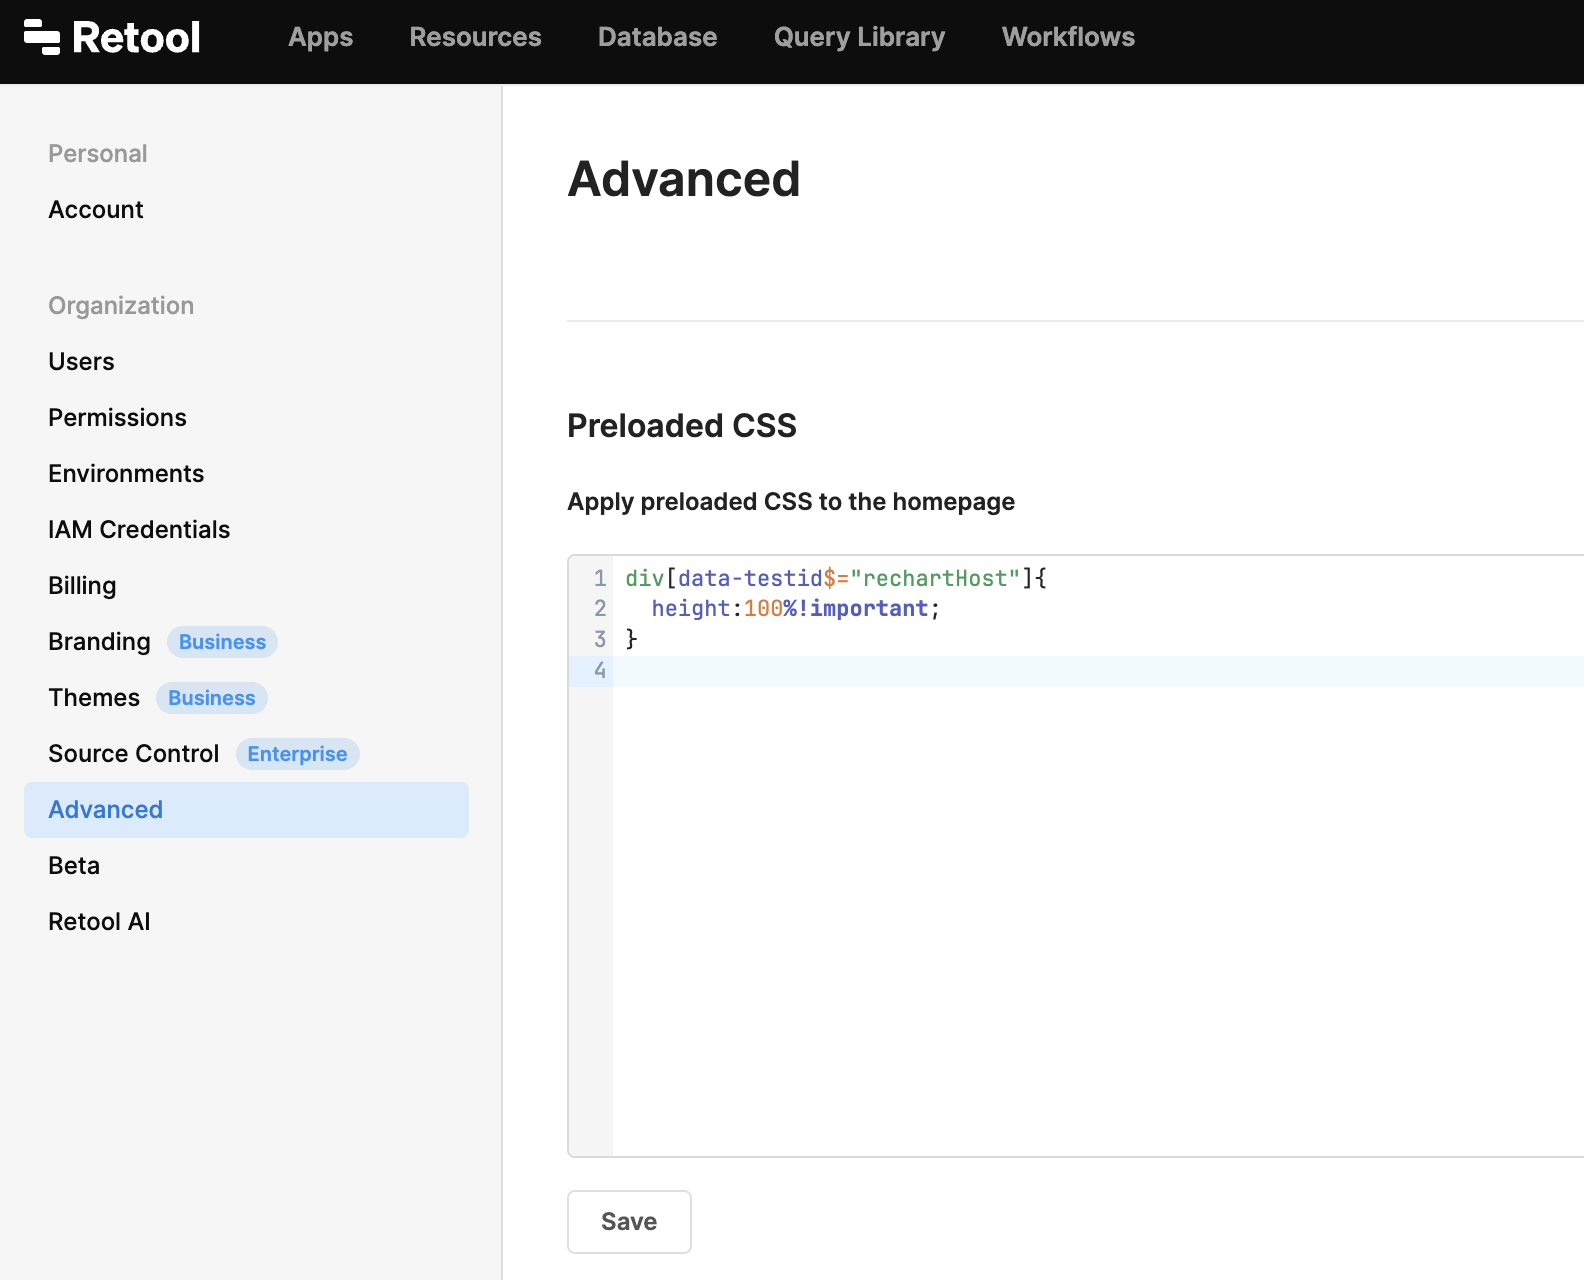
It’s totally safe and it won’t affect any other components since it seeks specifically for Rechart elements.
Now, import the Module
You can download the Rechart module here.
It’s a zipped JSON file you can import (once unzipped) into your Retool organization. It’ll be available under the module section when adding a component.
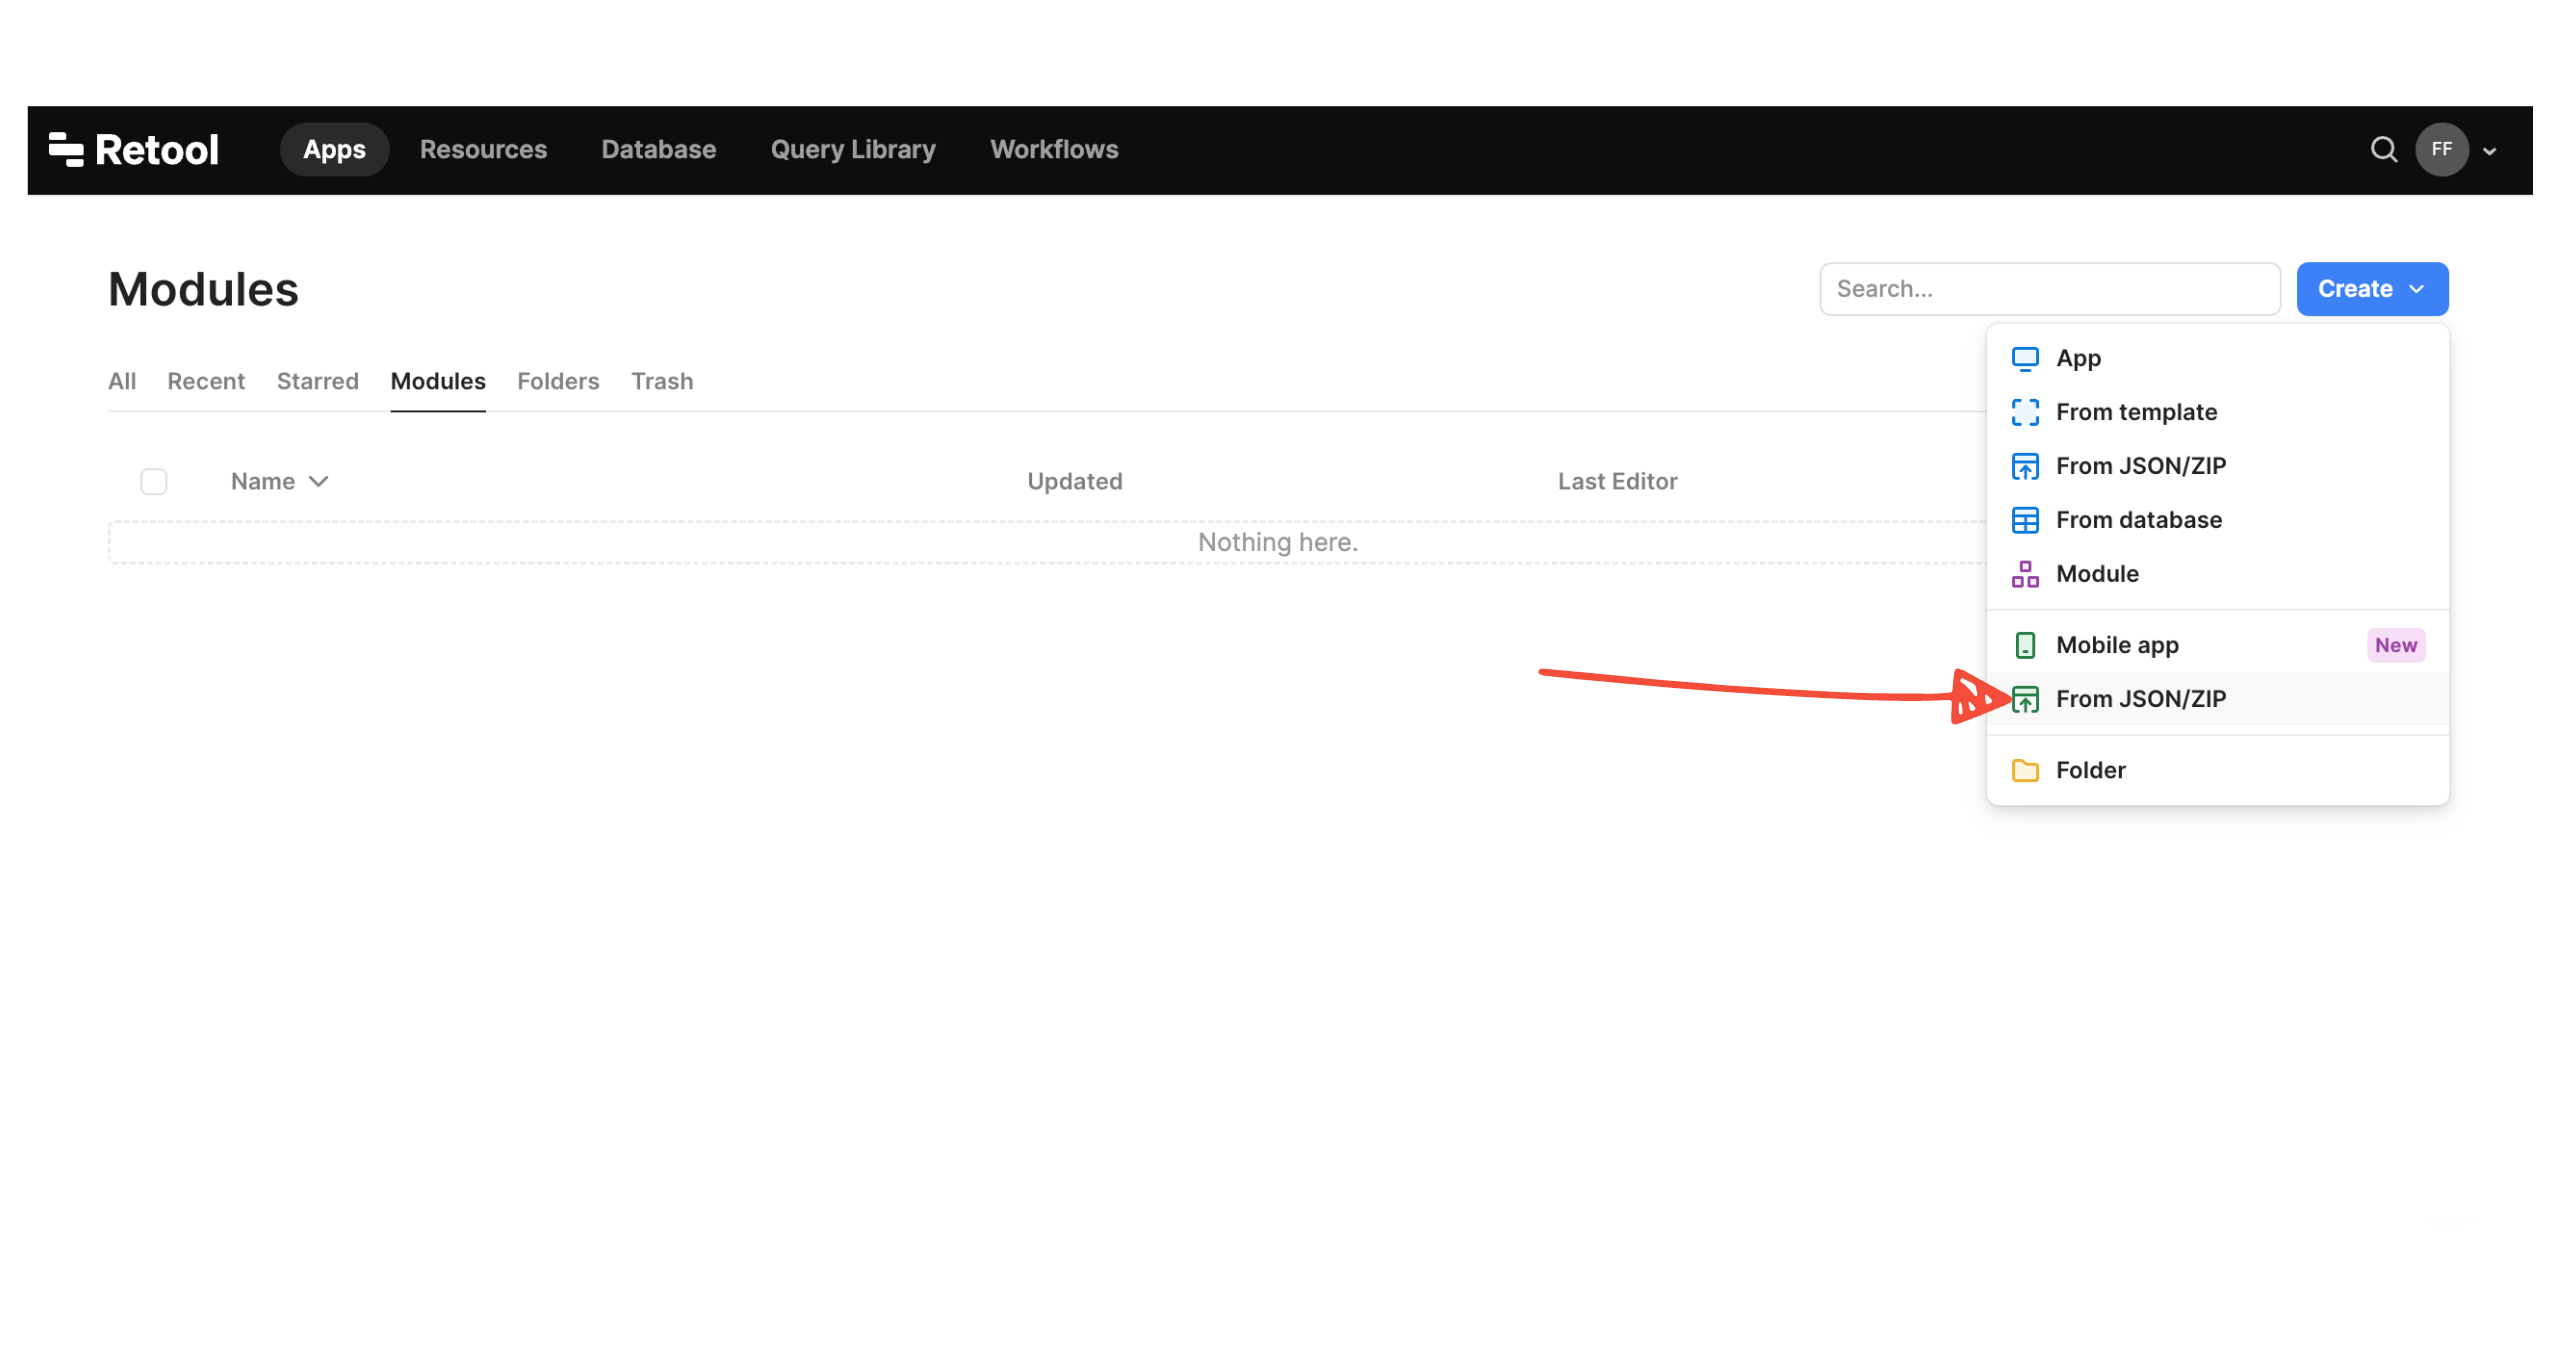
After the installation you should be in the Module. “Back to home” to see the Module in the applications list.
Time to use Rechart into a Retool App
To make things fast, watch the following tiny screencasts.
Add your first chart
- Add the Rechart from Modules tab
- Select
Fixedin theheightsetting - Add the required properties (component id and data source)
- Open the Configurator and play with it
Use multiple connected charts
- Add two or more Rechart components
- Use the same data source for all
- Configure them with the configurator
- They are already connected, play with them
Drill-down a Retool table from a chart
- Add a Rechart and a Table components
- Configure the chart
- Wire the Table data source with the Rechart
selectionproperty - Play with the chart